

How to Export URL Audit Results to CSV
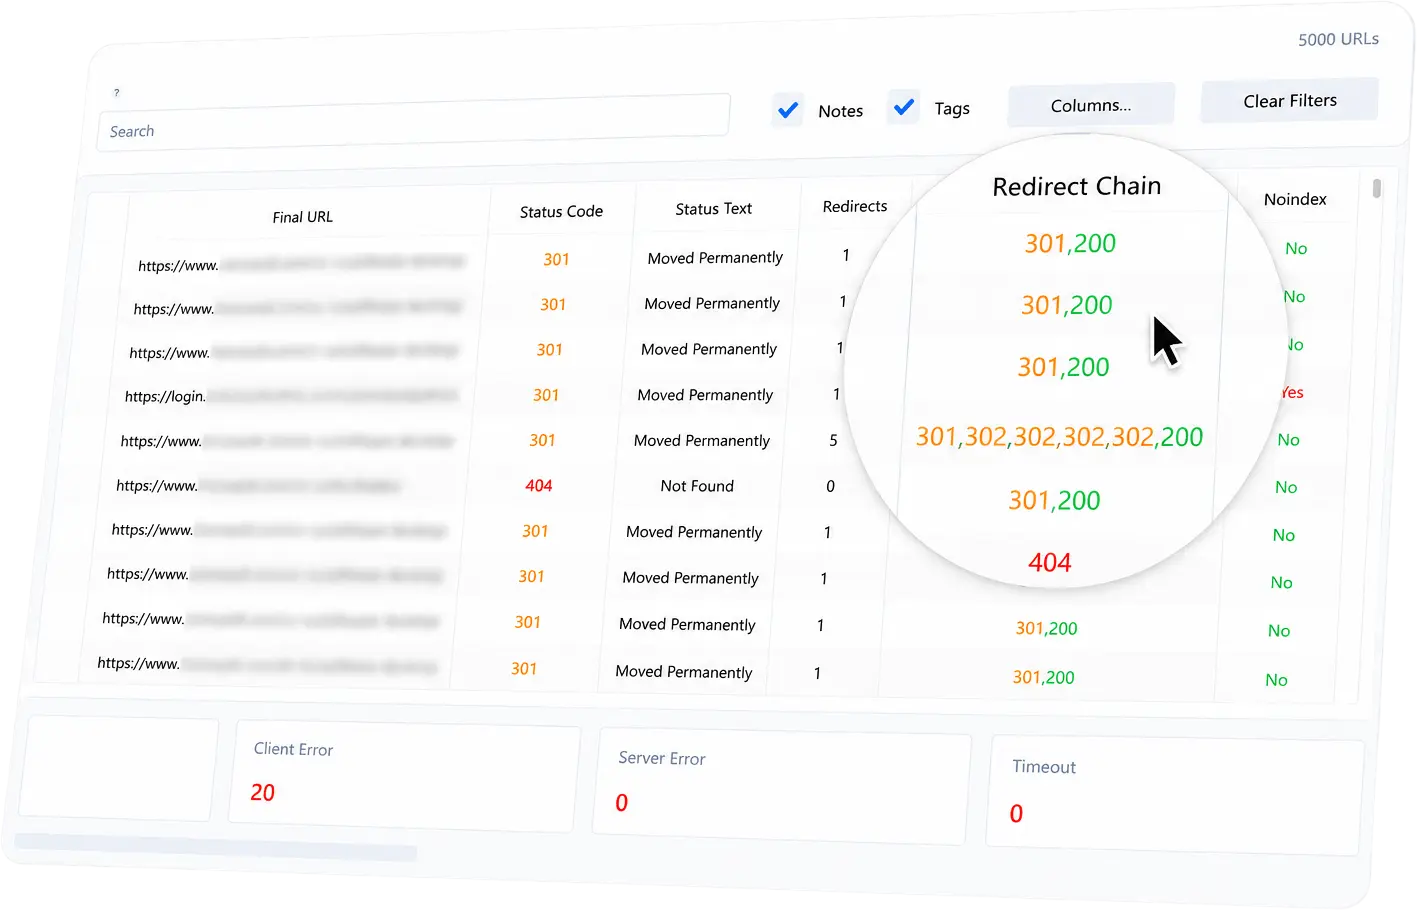
CSV export turns scan results into a practical report for developers, SEO teams, content teams, QA testers or clients. URL Verifier Pro exports the columns currently visible in the result grid, so each report can be tailored to the task.
Instead of sending every field to every person, you can filter the rows, choose the columns that matter and export a focused report. For a status-specific report, start with How to Bulk Check HTTP Status Codes.
Export workflow
-
Run a scan or open a saved session.
-
Filter rows if needed. For example, show only redirects,
404errors, failed URLs, noindex pages or tagged rows. -
Use the column chooser to show only the fields needed for the report.
-
Start CSV export.
-
Choose whether to export all rows or only filtered rows.
-
Let the export run in the background. The progress modal shows progress and can be cancelled if needed.
Broken URL report
Useful columns:
-
Original URL
-
Status code
-
HTTP status text
-
Error details
-
Final URL
-
Response time
-
Notes
-
Tags
Redirect report
Useful columns:
-
Original URL
-
Final URL
-
Status code
-
Final status
-
Redirect count
-
Redirect chain
-
Location header
-
Notes
-
Tags
Metadata report
Useful columns:
-
Original URL
-
Final URL
-
Status code
-
Page title
-
Meta description
-
Canonical URL
-
Robots meta tag
-
Noindex flag
-
Open Graph title
-
Hreflang alternates
-
Notes
Developer QA report
Useful columns:
-
Original URL
-
Scan status
-
Status code
-
Final URL
-
Response time
-
Content type
-
Content length
-
Server header
-
Cache-Control header
-
Error details
Tips for cleaner reports
-
Filter first, then export filtered rows.
-
Show only the columns the recipient actually needs.
-
Add notes before exporting so the report includes context.
-
Use tags to group issues by owner, priority or status.
-
Save the session before exporting if the audit may need to be reopened later.